Removing bicycle pedals is a straightforward task, yet it can appear intimidating for beginners. Whether you’re seeking to swap out old pedals for new ones or need to pack your bike for travel, understanding this process is essential. This article will outline how to remove bicycle pedals, the tools required, and the importance of proper technique.
Understanding Bike Pedal Types
Identifying Your Pedals
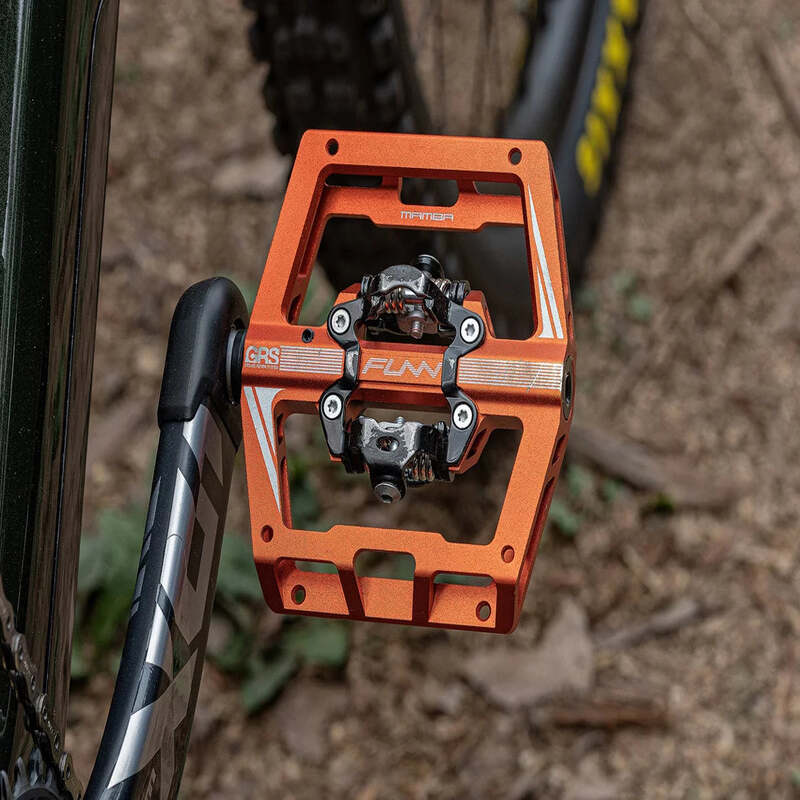
Bicycle pedals come in various types. Generally, they can be classified into two main categories: flat pedals and clipless pedals. Flat pedals are simpler and often used by casual riders; they allow for easy foot placement and dismounting. However, clipless pedals offer enhanced efficiency and power transfer. They attach to your shoes via a cleat mechanism. Thus, it’s crucial to identify the type of pedals on your bike before attempting removal.
Knowing the Right Tools
Each bike pedal type requires specific tools for removal. For flat pedals, you typically need a 15mm pedal wrench or an adjustable wrench. For clipless pedals, a hex key or Allen wrench, usually 4mm or 5mm, is necessary. Having the right tool at hand makes the process smoother. Additionally, having a rag or towel can be helpful for cleaning up any grease or dirt after the task.
Preparing for Pedal Removal
Gathering Your Materials
Before you start, gather your tools and materials in advance. Find a flat, stable workspace allowing you to maneuver around your bike comfortably. Place your bike securely on a bike stand, if available, to elevate it off the ground. This way, you can easily access the pedals from various angles without discomfort.
Ensuring Safety First
Safety should always be a priority. Make sure that the bike is secured and prevents it from tipping over during the process. Wear gloves if you wish to avoid getting grease or dirt on your hands. Loose clothing can snag on bike parts, so ensure to wear fitted attire. More importantly, check the condition of your bike and tools before starting. A sturdy setup ensures a safe and effective pedal removal process.
The Actual Process of Removing Pedals
Removing Flat Pedals
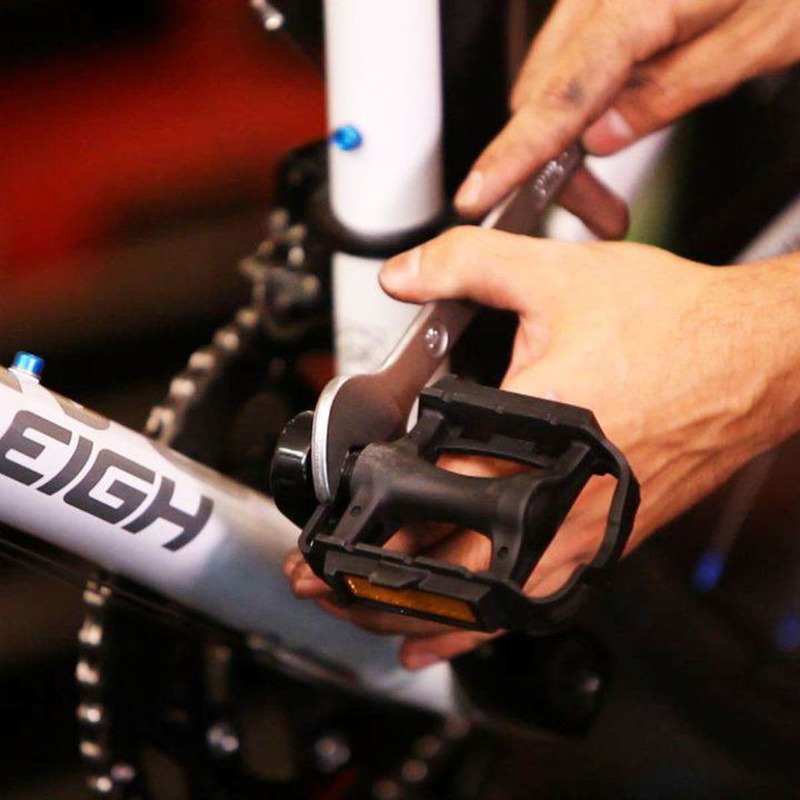
To begin, locate the flat pedal’s retention mechanism. You will see a spindle extending from the pedal into the crank arm. To remove the pedal, position your 15mm wrench on the nut. It’s crucial to remember that the pedal removal follows a reverse direction. Therefore, the left pedal is removed by turning it clockwise. In contrast, the right pedal rotates counterclockwise.
Once you have your wrench positioned, apply steady pressure. If the pedal doesn’t budge, you may need to use a penetrating oil. Allow it to soak for approximately 15 minutes, then retry. Once successfully loosened, continue to unscrew it until the pedal is entirely off the spindle. Clean any grease to maintain the crank arm’s condition.
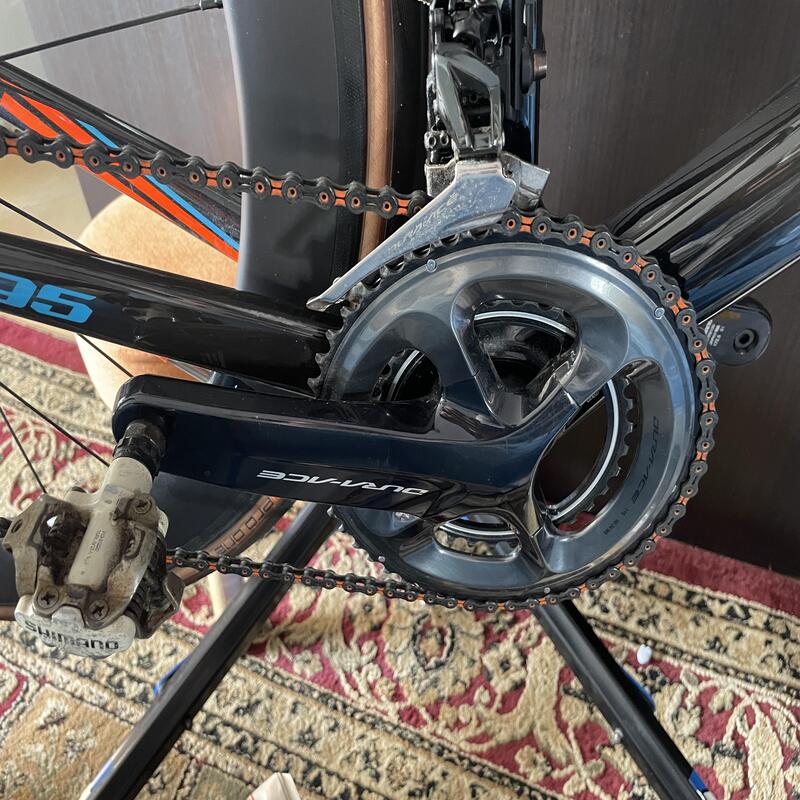
Removing Clipless Pedals
Once you’ve identified the clipless pedal, you will need a hex key or Allen wrench. Insert the correct size into the pedal’s mounting bolt on the crank arm. Similarly to flat pedals, the left pedal turns clockwise while the right pedal turns counterclockwise for removal. One trick includes applying pressure on the pedal while you turn the wrench; this often provides additional leverage.
Once the bolt loosens, remove it entirely and gently take off the pedal. Set all parts aside in an organized manner, allowing you to find them easily when you install the new pedals. Lastly, make sure to clean the threads and inspect for wear or damage, particularly if you plan to invest in new pedals soon.
Post-Removal Considerations
Cleaning Up
After you have successfully removed the pedals, clean up your workspace. Wipe off any grease or debris that may have accumulated during the process. It is essential to maintain your tools and workspace so that your next bike maintenance task can be just as seamless. Doing this can help prevent parts from rusting and prolong the life of your tools.
Inspecting for Damage
Upon removal, this is a great time to assess your bike’s crank arms and pedal threads. Check for any signs of damage, such as rough threads or cracked surfaces. If you notice wear or malfunctioning components, it might be best to consult a professional. Addressing any damage promptly can save you from more extensive and costly repairs down the line.
Installing New Pedals
Selecting the Right Pedals
Once the old pedals are off, it’s time to think about replacements. Consider what type of riding you will predominantly be doing. Whether you’re an urban commuter or an off-road enthusiast, the right pedals will enhance your cycling experience. Flat pedals are often best for quick hops around town while clipless pedals may help you during longer or more intricate rides.
Proper Installation Techniques
For installation, take heed of the thread direction. Right pedals follow the standard right-hand thread, while left pedals have left-hand threads. Begin to thread each pedal into its respective crank arm without force. Applying grease can make threading easier and will aid future removal. Once threaded, use the appropriate tool to tighten them firmly, ensuring full security.
Advanced Tips for Ease of Use
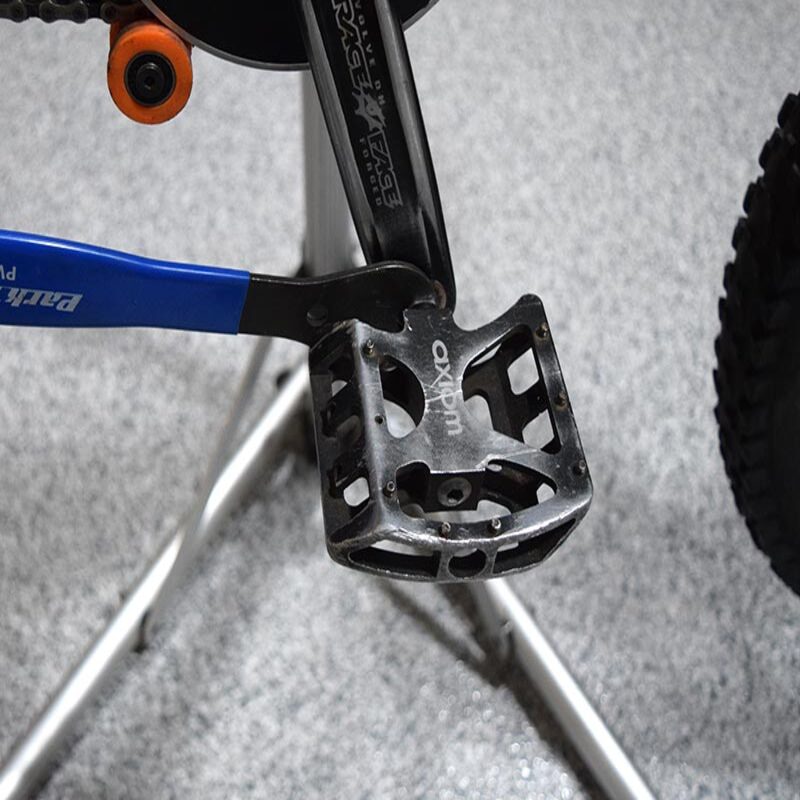
Using a Pedal Wrench
Investing in a dedicated pedal wrench can simplify the removal process. Their longer handles provide better leverage, making it easier to release stubborn pedals. Additionally, their slim profile can fit into tight spaces more effectively than standard wrenches. This is particularly useful when maneuvering around the bike frame.
Regular Maintenance
Regularly inspecting and maintaining your bike’s pedals will improve overall performance. Make it a practice to check pedal tightness, especially if you frequently remove them. This ensures that you stay safe while pedaling. Moreover, it may prevent any issues like stripping pedal threads over time.
Trouble-Shooting Common Issues
Stuck Pedals
If you find yourself facing stuck pedals, tackling them with caution is critical. Before applying excessive force, spray penetrating oil and let it sit for 15 minutes. In some cases, simply tapping the wrench with a rubber mallet provides the extra force needed for loosening. This method requires careful judgment to avoid damaging the crank arm.
Damaged Threads
In the event of damaged threads, thread repair kits are available. These kits can repair stripped crank threads quite successfully. However, if the damage is too extensive, replacing the crank arm entirely might be your only option. If you choose to repurpose, consult a professional for best practices and guidance tailored to your bike’s make and model.
Final Thoughts
Know Your Limits
While removing bike pedals can be straightforward, knowing your personal limits is crucial. If at any moment you feel unsure about the process, reach out to a professional bike mechanic. Their experience can ensure that you don’t accidentally damage your bike or compromise safety. Plus, they can provide invaluable tips for ensuring longer-lasting components.
Conclusion
In summary, removing bicycle pedals is a practical skill that every cyclist should learn. From knowing which tools you need to being aware of how to handle various pedal types, these steps can simplify maintenance tasks. By following the guidelines listed in this article, you’ll have the confidence to tackle pedal removal effectively. Ultimately, enabling better cycling experiences lies within your grasp. Furthermore, keeping regular checks on your bike components ensures that you have a safe and enjoyable ride for many years to come.